How To Take Care of Your Boat
Taking care of a boat demands a little time and effort, but having the right equipment and products makes it both easier and more enjoyable. In this guide we will go through some of the most important boat care tasks step by step. And remember to protect yourself as well as the environment. Use appropriate personal protective equipment for each task, and the work will be safer with better results. Also remember to sort your waste correctly.
Published 2025.01.21
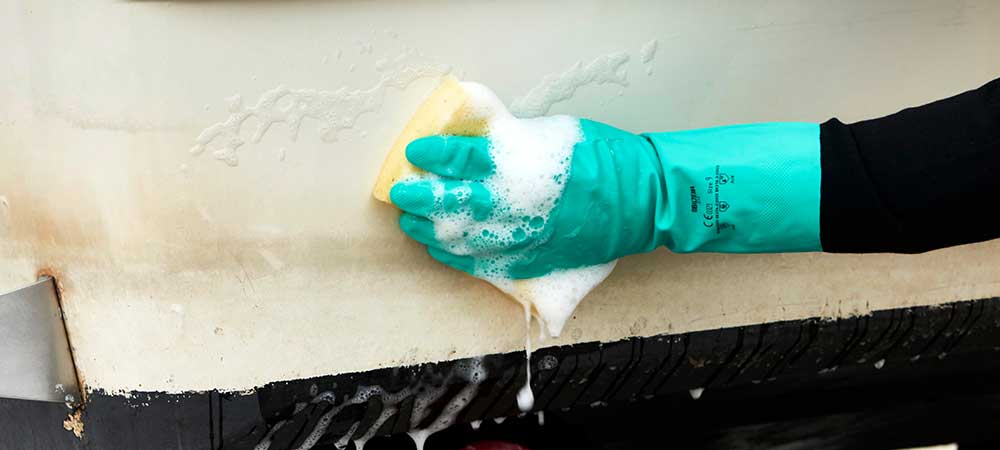
Cleaning the boat
- Rinse down the boat with freshwater. Make sure scuppers and drainage holes are free of leaves and debris.
- Pour the recommended measure of boat shampoo into a bucket. Use chemical-resistant gloves.
- The easiest way to clean the hull sides is with a sponge, and the deck with a soft scrubbing brush.
- Rinse down the boat thoroughly with salt water after cleaning. A high-pressure washer is a useful tool.
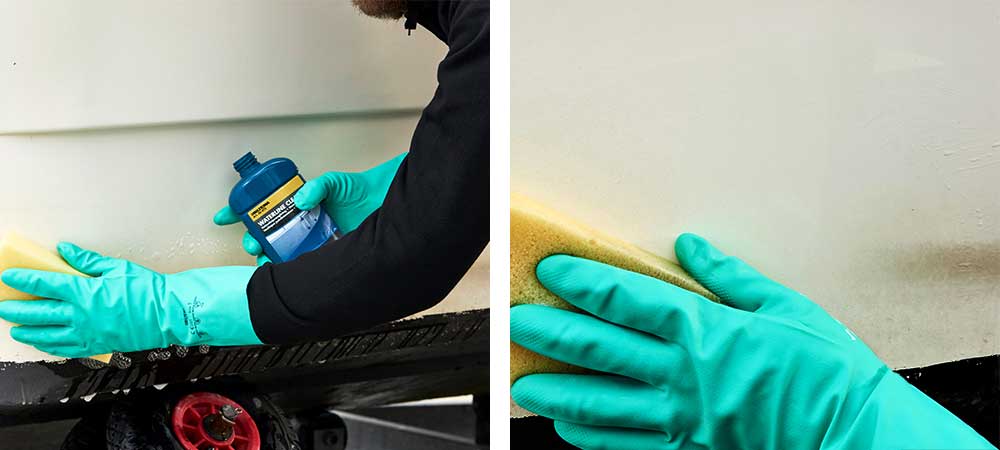
Cleaning the waterline
- Apply waterline cleaner to a sponge. Use chemical-resistant gloves for this too.
- Spread the cleaner in circular motions and allow to work for 5-10 minutes.
- Rinse down thoroughly with freshwater. For heavily discoloured areas, repeat step two.
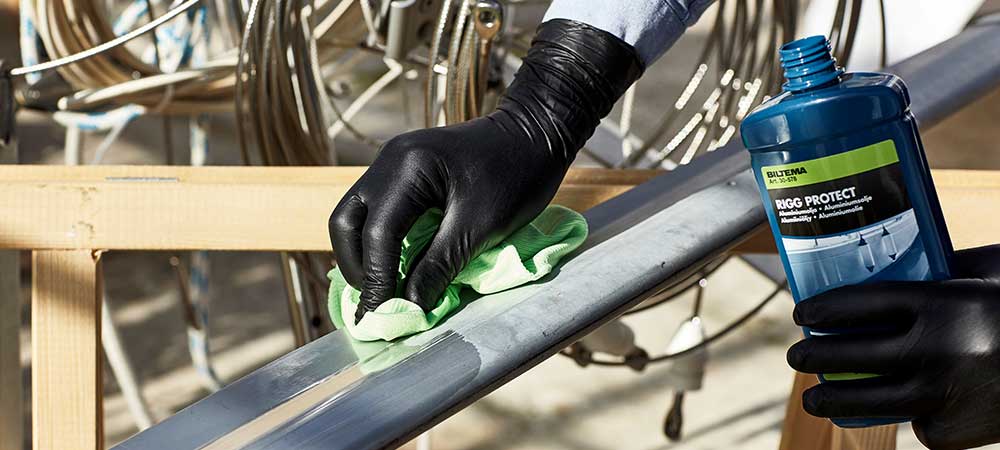
Cleaning and protecting aluminium
- Wash your aluminium boat or rigging with boat shampoo and freshwater.
- Apply aluminium oil to a microfibre cloth. Use nitrile gloves.
- Rub in the oil in small circular motions.
- Allow the oil to dry for 3-5 minutes.
- Wipe down the surfaces with a microfibre cloth.
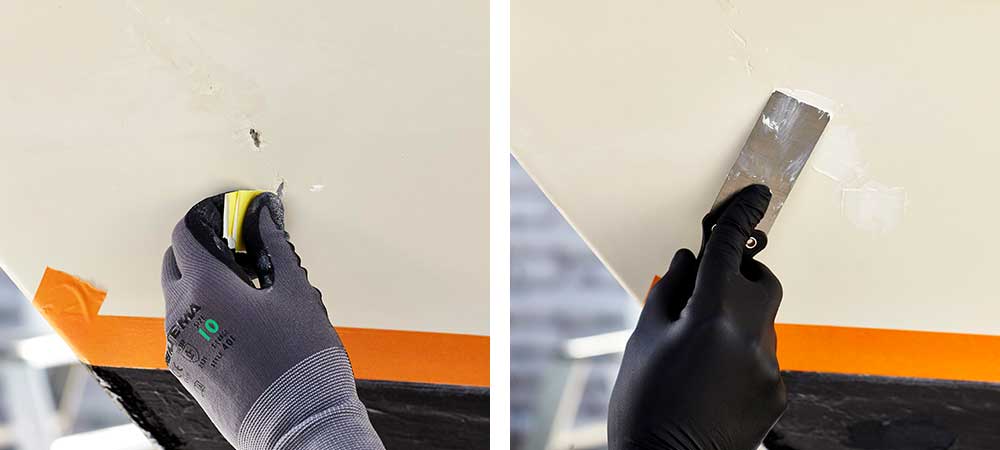
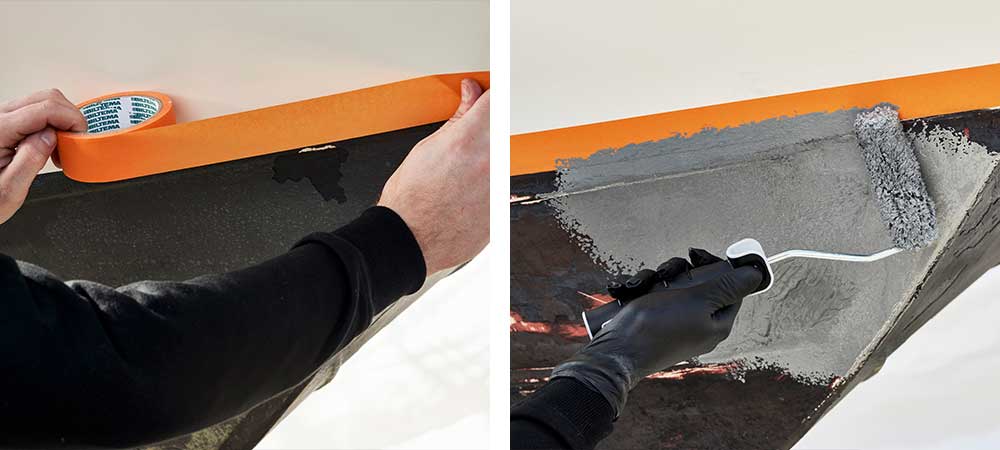
Mending gelcoat damage
- Make sure to remove all loose gelcoat.
- Sand the areas clean with K180 sandpaper.
- Clean the damaged area with acetone.
- Mix gelcoat filler ”series” with hardener.
- Apply the filler with a putty trowel and allow to harden. Filling may need to be performed twice.
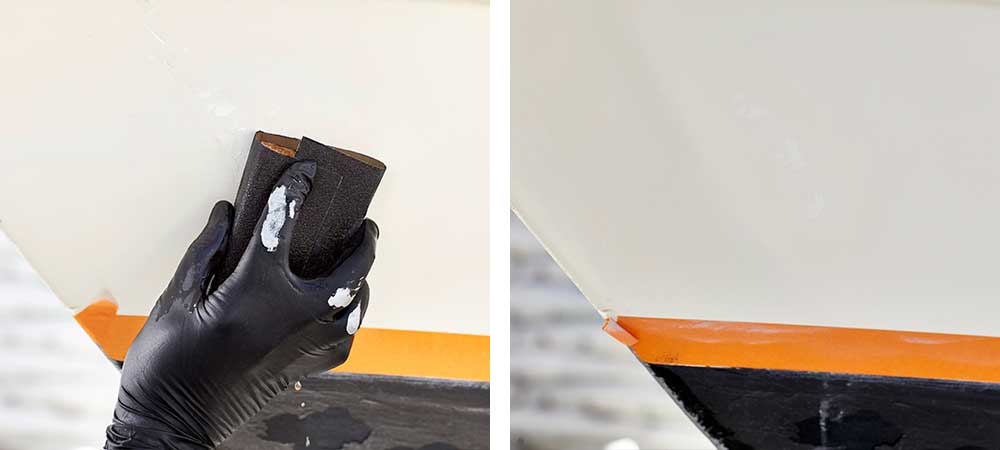
- Sand the filler with wet sandpaper, in stages up to K1200.
- Polish the area afterwards with rubbing, polish and lastly wax. A polishing machine is a useful tool.
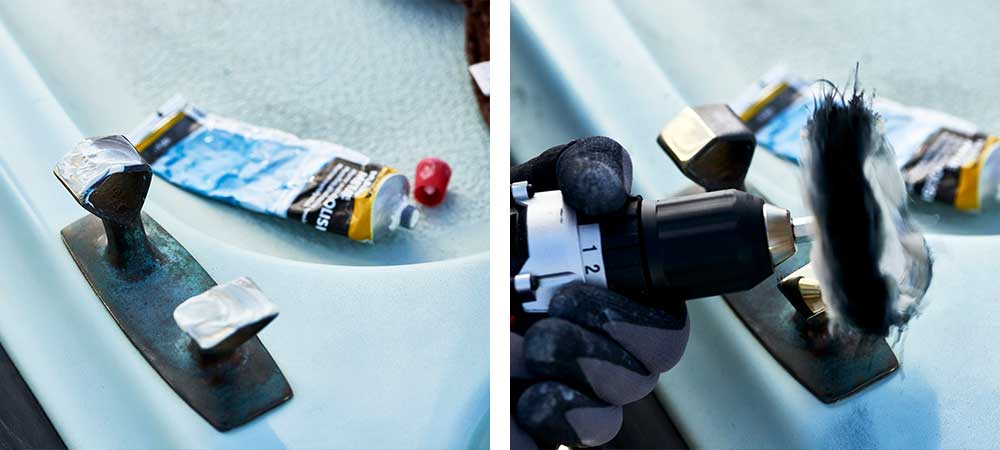
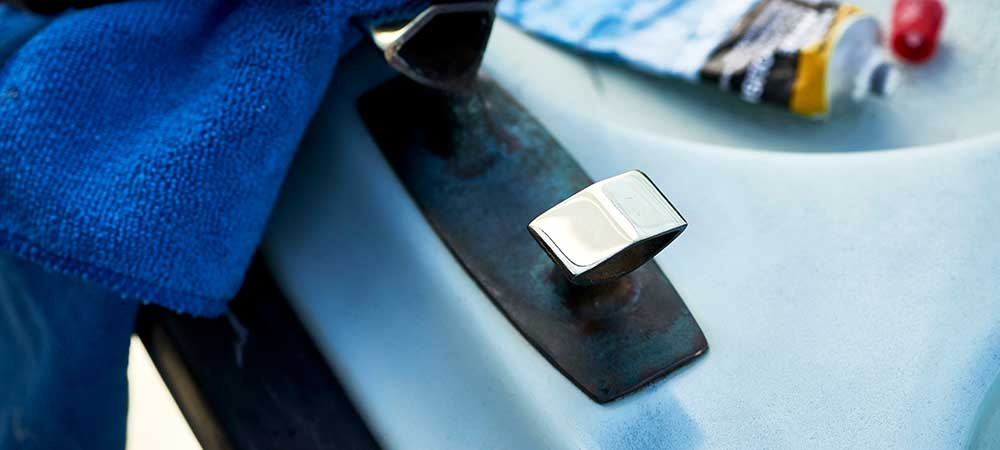
Polishing metal
- If the material is heavily corroded, it may need to be roughened with a nylon disc, and then sanded afterwards with wet sandpaper.
- Apply metal polish, spread a thin layer over the area.
- Polish with a polishing pad on a screwdriver. Start slowly and increase the speed.
- Wipe down the area with a microfibre cloth.
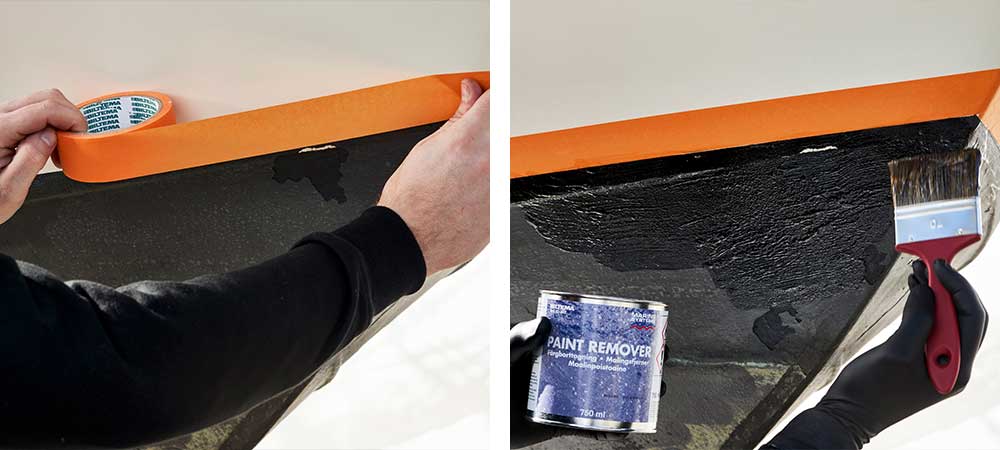
Removing anti-fouling paint
- Cover the ground where you will be working with a tarpaulin.
- Mask off the waterline with masking tape.
- Apply anti-fouling paint with a wide paintbrush or roller that can handle solvent.
- Allow the product to work for 1-2 hours. (For best results, cover the area with painter's plastic.)
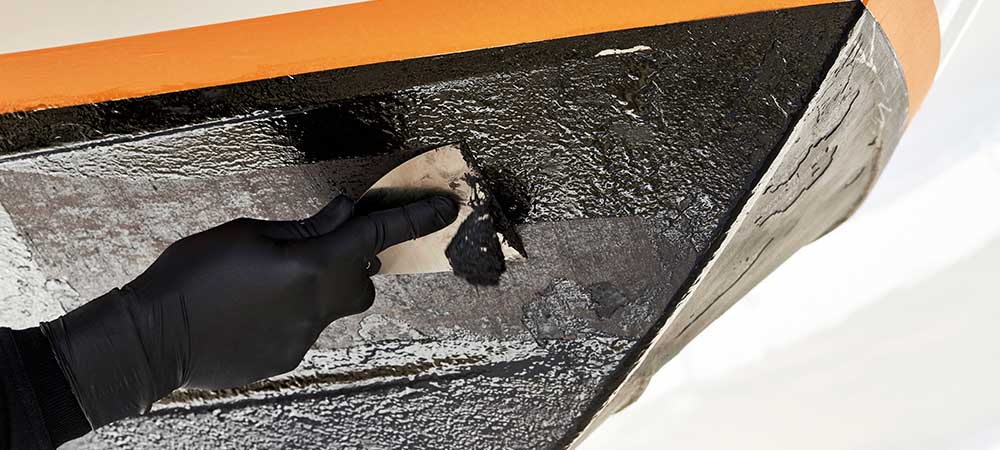
- Scrape off the paint with a putty trowel or paint scraper(e.g. 65 mm), gather the waste into a container and hand it in to a recycling station.
- Rinse down the surfaces thoroughly with freshwater.
- Sand the surfaces lightly before applying primer or sealer with K180 sandpaper.
Applying anti-fouling paint
- Cover the ground underneath the boat with a tarpaulin.
- Mask off the waterline with masking tape.
- Apply sealer or epoxy primer for optimal adhesion.
- Mix suitable anti-fouling paint thoroughly with a mixing stick.
- Apply the anti-fouling paint with a wide paintbrush, or roller (e.g. 100 mm). Apply an additional coat at the waterline, rudder and keel.
- Remove the masking tape.
- Gather all waste and sort as hazardous waste.

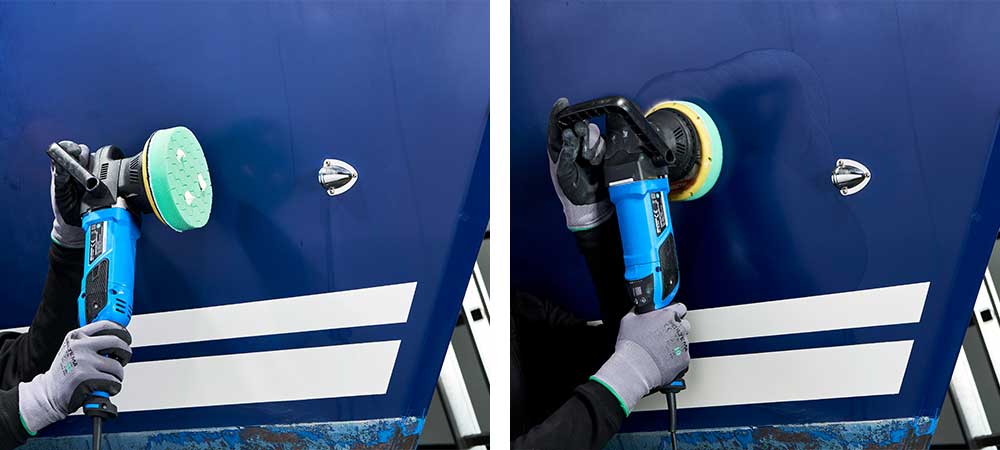
Polishing the boat
Rubbing
- Clean the hull with boat shampoo and freshwater.
- Use a polishing machine and apply rubbing to a polishing sponge. Begin by carefully spreading the product over the hull.
- Begin polishing at the lowest speed, work on areas measuring 80 x 80 cm. Work horizontally and vertically.
- Allow the product to dry and wipe off excess rubbing with a microfibre cloth.
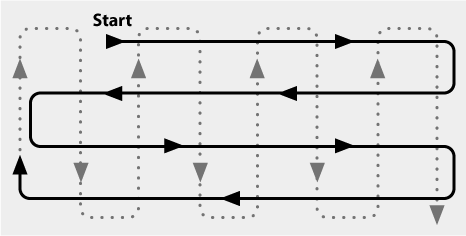
Polishing patern
Polish according to this pattern for good results.
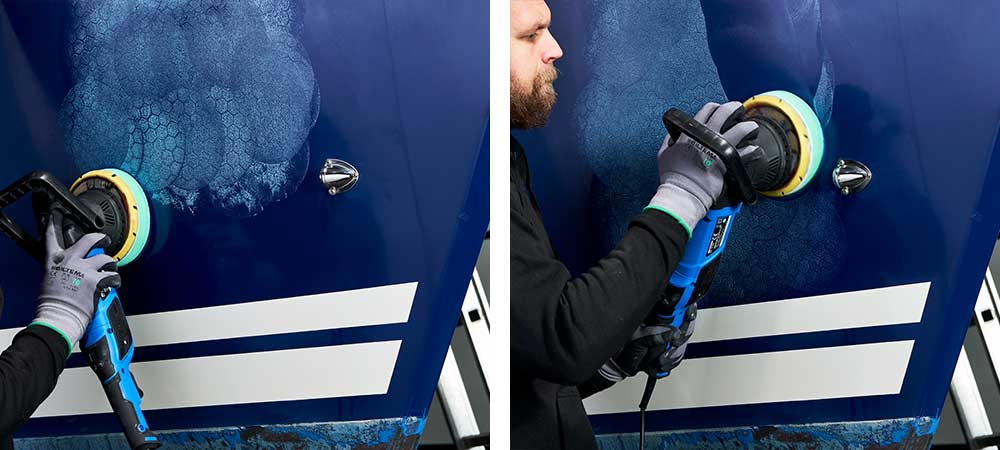
Polishing the boat
- Apply polish to the pad and spread out on the hull. For best results, use a polishing machine, or a polishing sponge.
- Begin polishing at low speed on an area measuring 80 x 80 cm, and avoid direct sunlight.
- Gradually increase the speed of the polishing machine, work horizontally and vertically.
- Allow the product to dry until a matte surface is achieved.
- Wipe down with a microfibre clothor a clean polishing sponge.
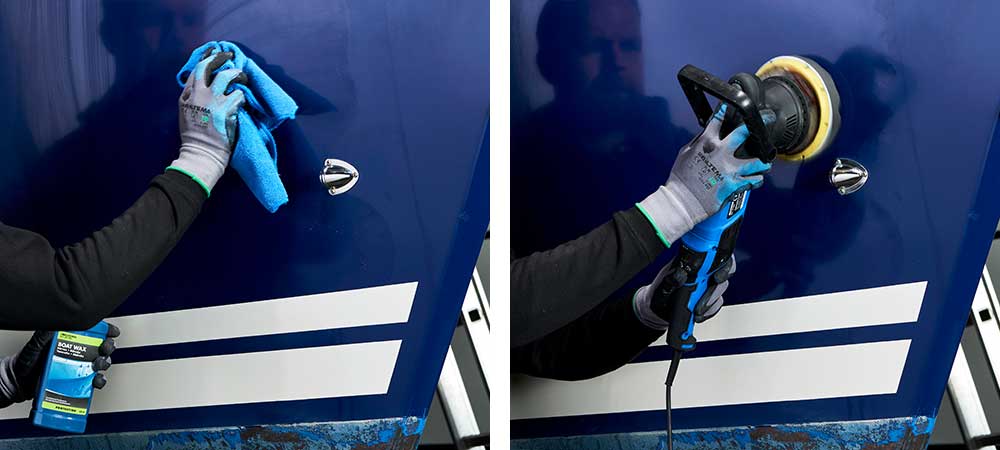
Waxing the boat
- Apply wax in circular motions with a microfibre cloth.
- Allow the wax to dry until a milky, matte surface is achieved.
- Polish off the excess wax with a polishing sponge.